The Z-offset is the distance between the nozzle and the triggerpoint, see e.g. this answer of question Automatic Bed Leveling (ABL) with a sensor (BLTouch, inductive, capacitive), how does it work?.
A "force sensor" as called in the question is actually a strain guage; deflection will cause a different electrical resistance which is a measure for the applied stress. These sensors are frequently found in aircraft to measure the strains (as a measure for the stresses) in the structure, e.g. wing spars, (pressure) bulkheads or frames, as part of structural health monitoring (e.g. to compare to the design spectrum of the OEM).
In theory the Z-offset with a strain gauge is non existent if you use such a sensor for ABL except that you may need to corect for possible flexing of the bed or the hot end assembly and a paper offset (default distance to allow better flow and adhesion).
However, the system referenced in the question is an Ender 3 V3 SE with an ABL system and a strain gauge.
Relax, Let Auto Leveling Do It
Leveling is the basis of print quality.
Ender-3 V3 SE features a CR Touch sensor for auto leveling
and a strain sensor for auto Z offset.
No need to turn screws or pull a paper.
Just lie back and enjoy the print success.
This implies that the strain gauge is not used to determine the level of the bed, instead the surface of the build plate is scanned/mapped by the CR Touch (BLTouch clone) sensor. In order to map this scanned surface to the correct height, a test point with the nozzle hitting the buildplate (and as such causing the strain gauge to measure that the nozzle touches the surface) is used to set the Z-offset based on this measurement. Without such a strain gauge, the printer user needs to do that manually; this is the process where you set the offset using the M851 G-code command. Instead of the user lowering the nozzle until a piece of paper can be dragged with a little resistance to determine the "true zero position" of the Z-axis, the triggering of the strain gauge and the automatic handling by the Creality software will do that for you.
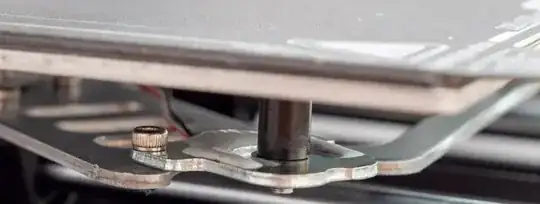
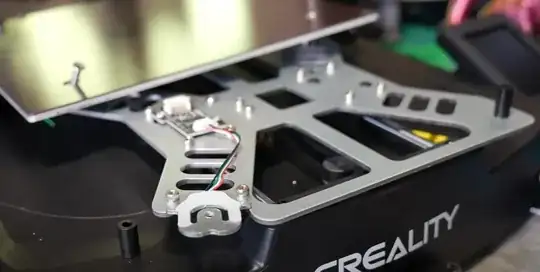
To explain the automatic calculation of the Z-offset in this printer is that the Creality Ender 3 V3 SE first calibrates the Z-offset with the help of a pressure of strain-gauge sensor mounted under the front left corner of the print bed, there is a strain-gauge sensor which can detects deformation on the structure that is mounted on.

Knowing the exact position of the nozzle and the position (height) of the trigger point of the leveling sensor, the Z-offset can be calculated and set. That height is then put into the M851 G-code command to set the Z-offset. This is exactly how you would do this manually other than you usually use a sheet of paper or a feeler gauge between the nozzle and the bed. The automatic calculation will surely make a correction for that (e.g. there could be play in the nozzle assembly).

